
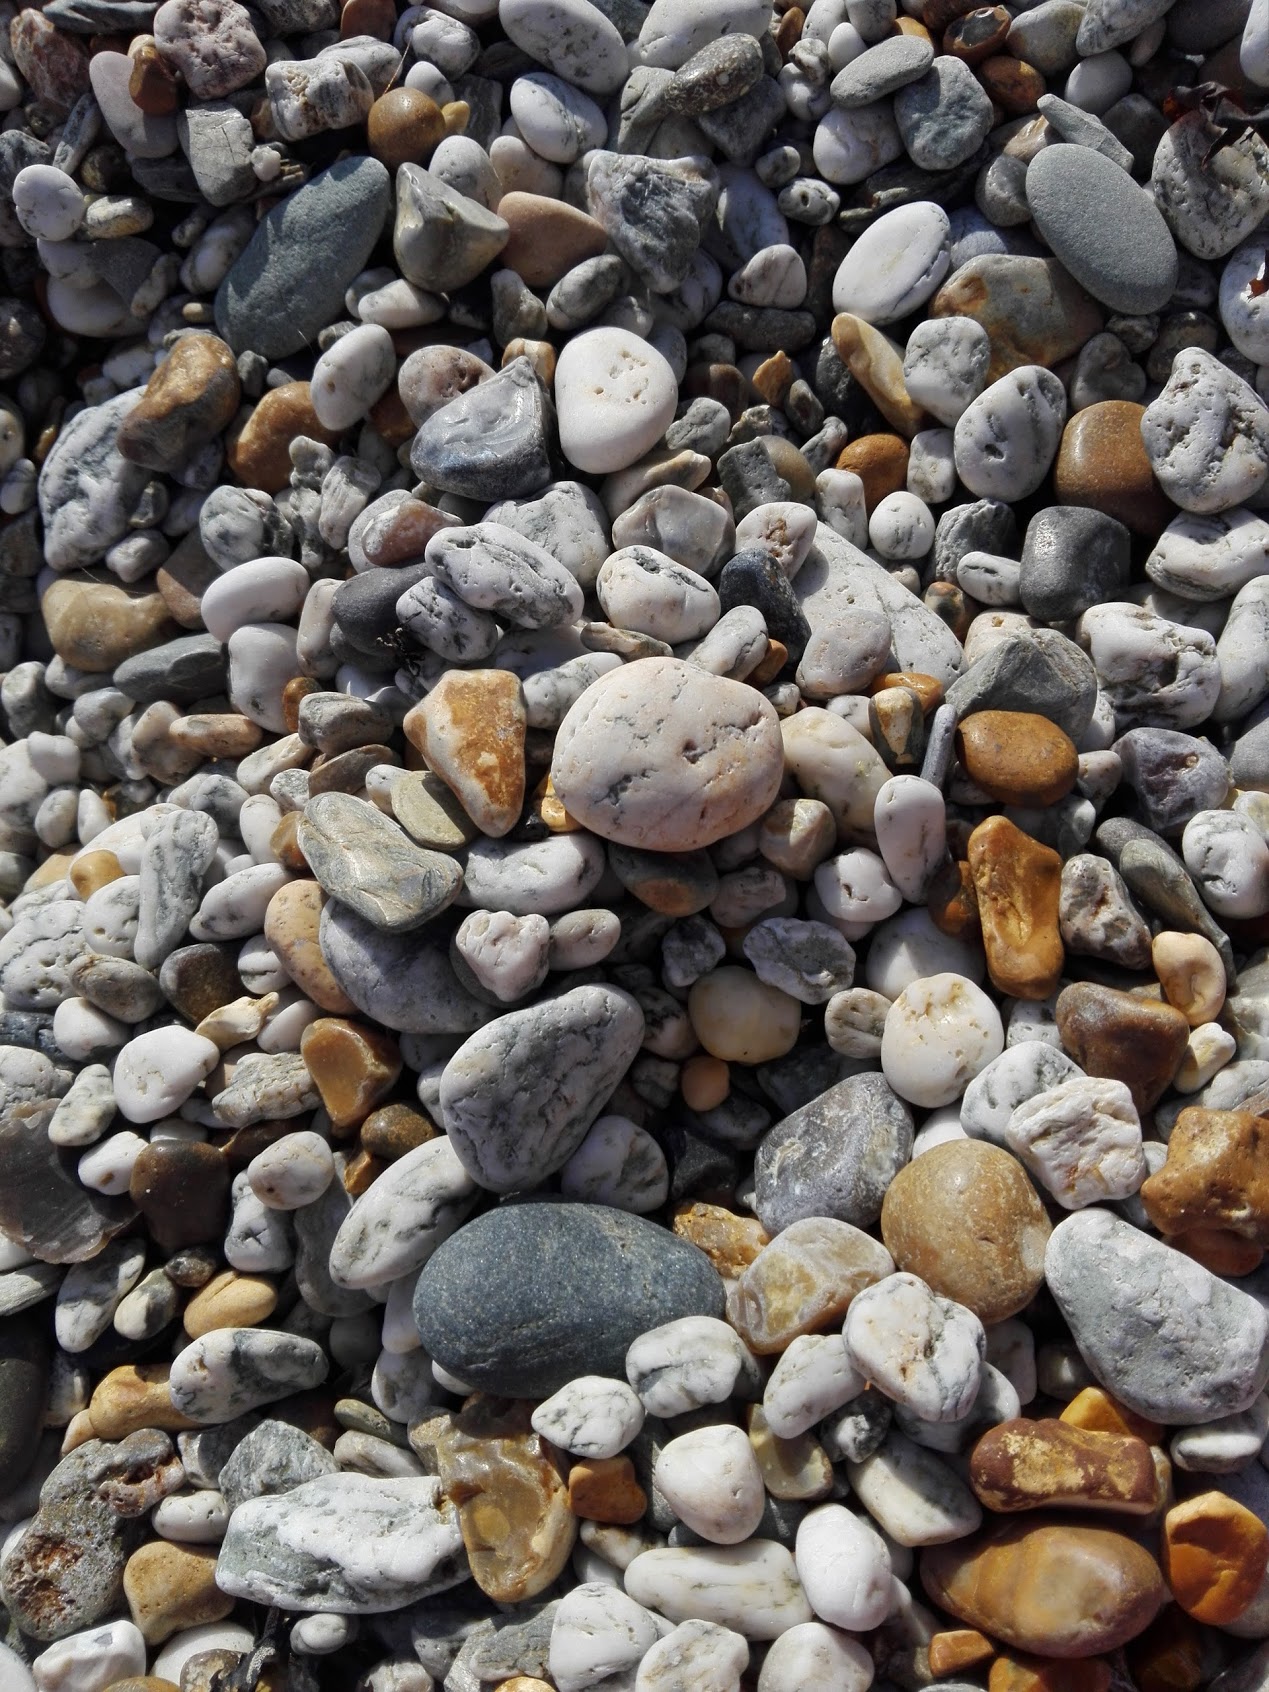
To the first part of the project we were told to choose a 2D image so we would convert it to 3D using clay. I had a few ideas right away about the image I wanted to work on, unfortunately I thought it would be fine to print the image right before going to the workshop but when I got to the computer room pinterest was not working in any of the computers so I had no way to reach the image I wanted. I realised I had no other option but to find another image so I went to my camera pictures and picked one:

I printed it out and went to the workshop.
At the workshop:
Helen first explained the basics of working with clay. The way to create the tile the size we wanted, how to cut it and roll it so it wouldn’t get air bobbles when going to the “oven” and how to pass our image to the tile without ripping it apart. We started!
Steps:


Bottom right picture: Final work
In the tile I wanted to use the 3 different plans. Something in relief, something with depth and line. I managed using the three and at the end the piece looked really simple but only because it doesn’t have colour yet. All along the process of making my piece I was thinking about the range of colours I would use, something like Elpspeth Owen’s work.
At the end of the workshop Helen told us we could do extra clay work and gave out some sheets about 2 different techniques we could follow that I kept on my course file and I experimented them:


The last picture: My last 3 pots. The left and middle one represent the rocks in depth and line (respectively) and the right pot is a combination of depth, line and relief. Again the pieces are quiet simple but the colour will give them the interest I’m looking for.
The pieces after the kiln ready to be painted:
