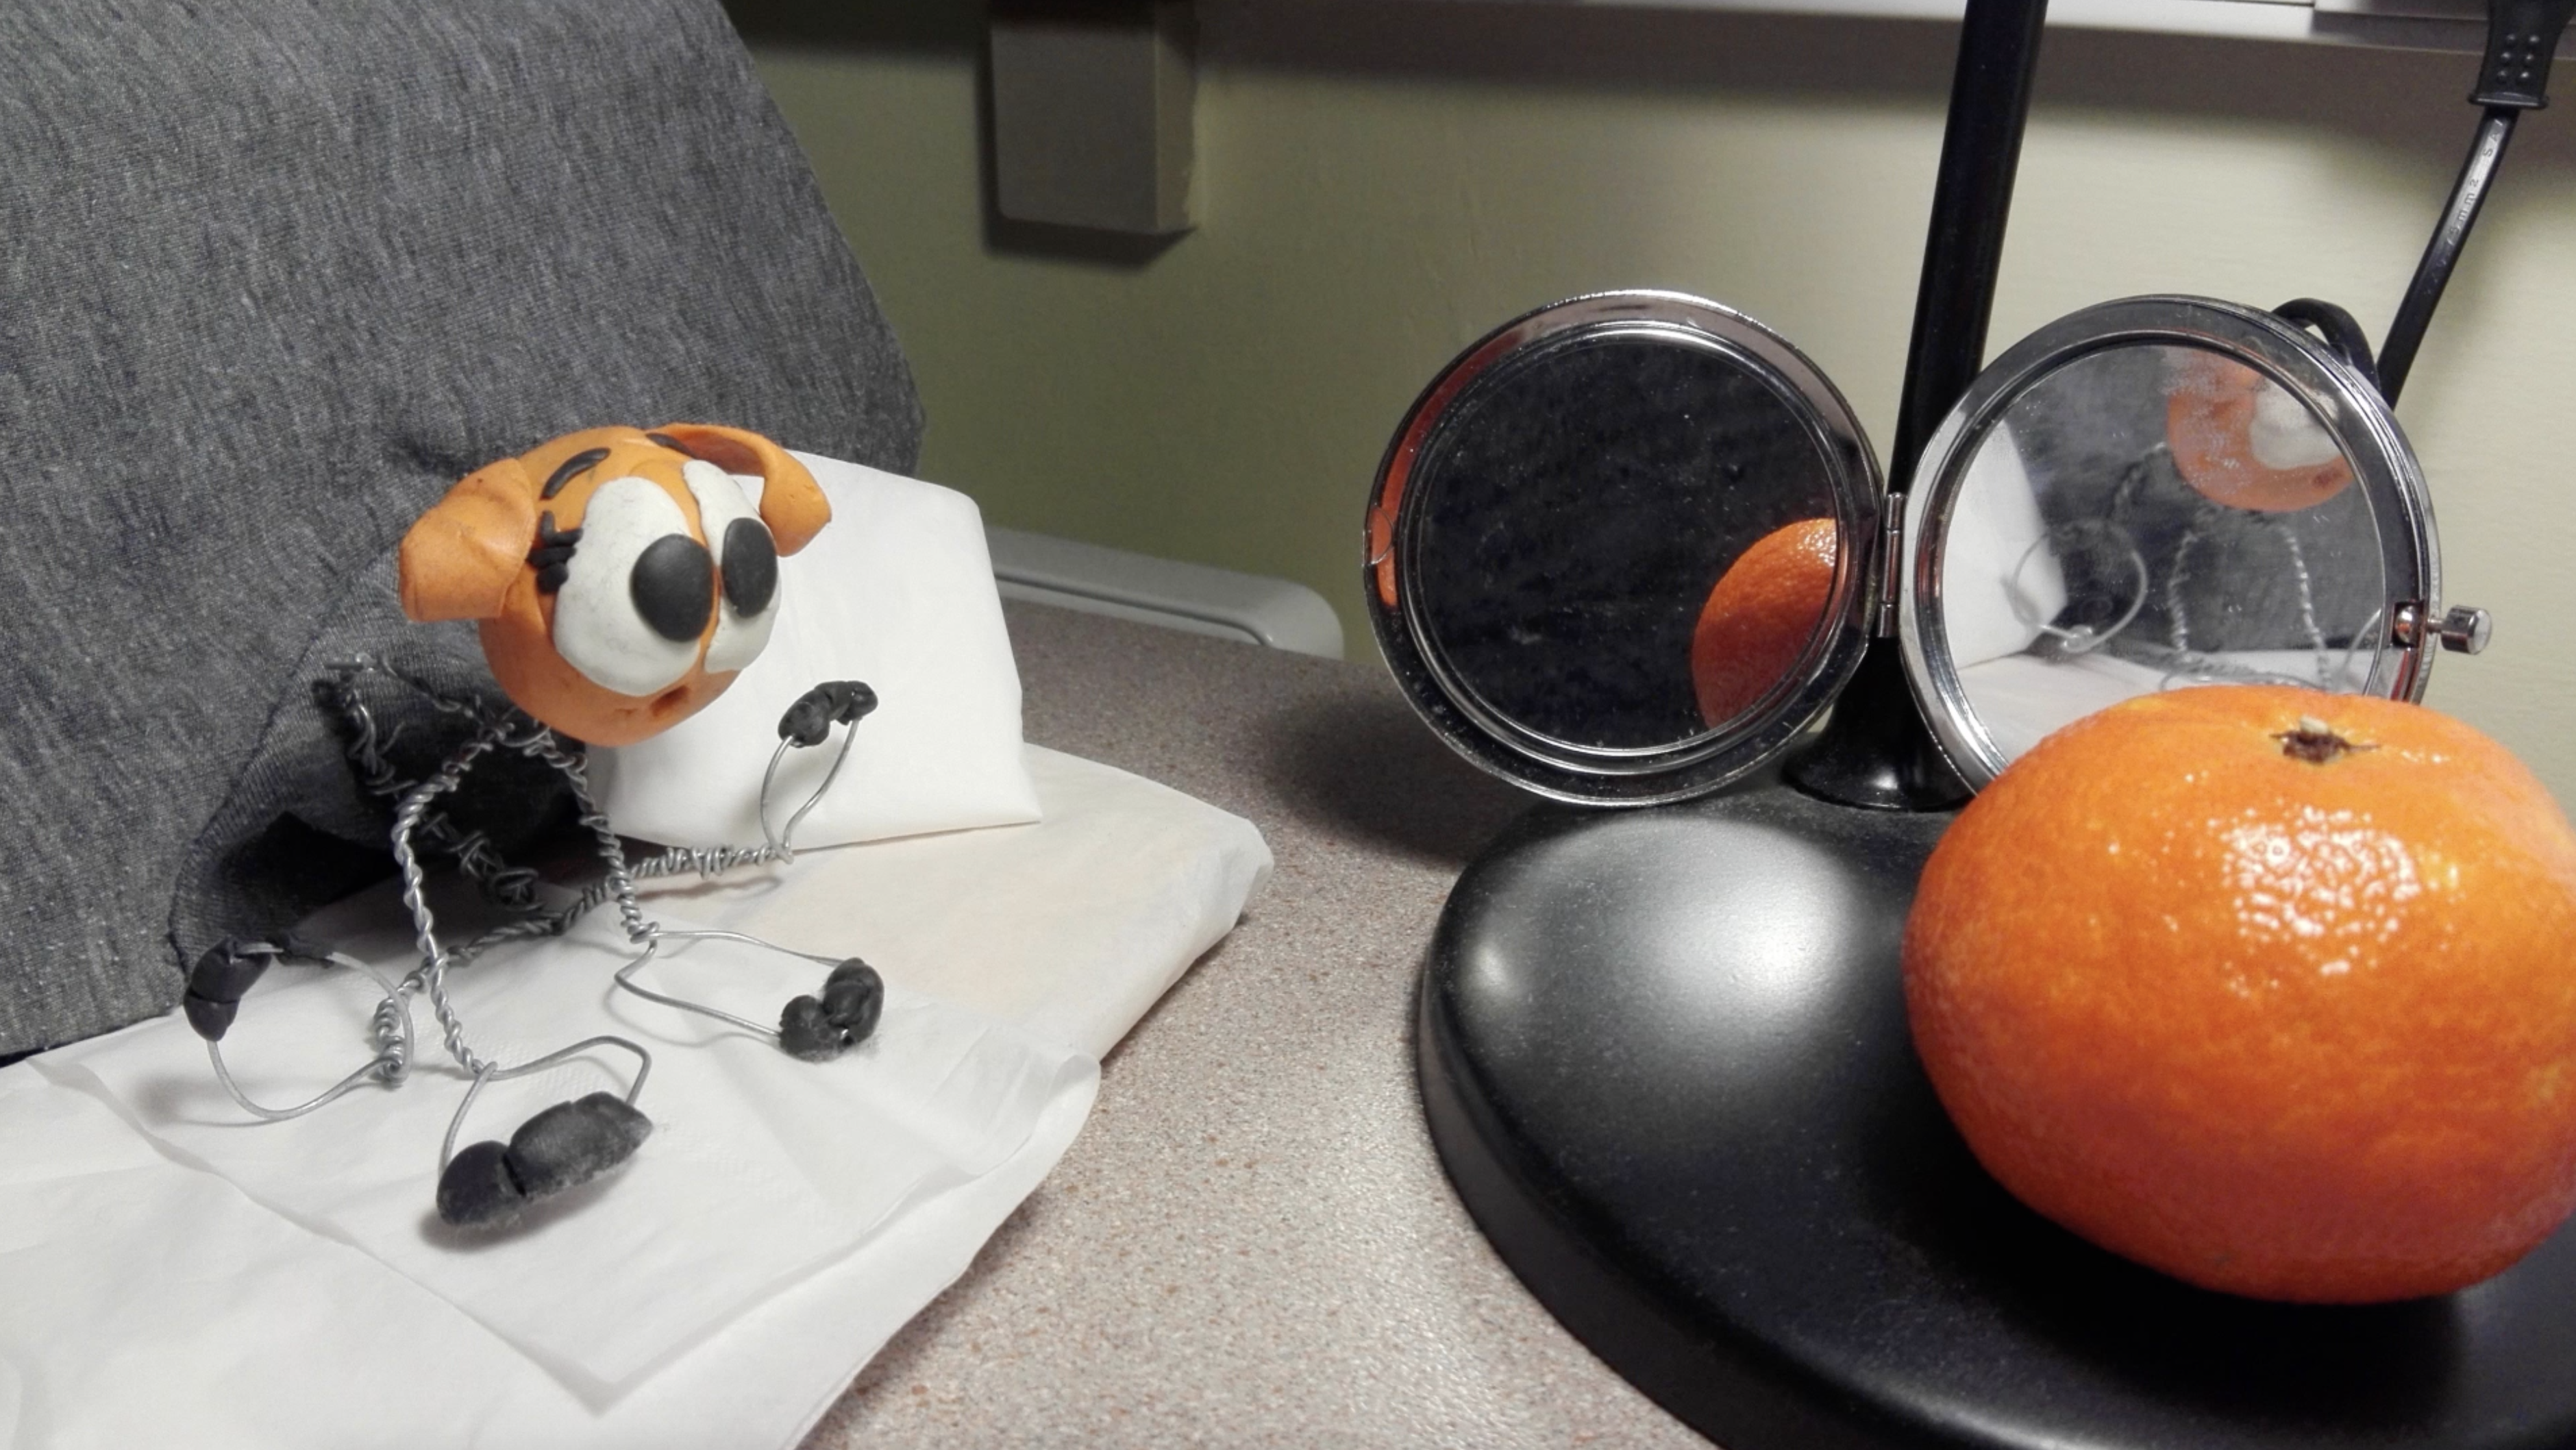
To make this animation possible we had to book the studio but as I was relatively late on this project I did it in my room. I used a “selfie stick” with my phone on it and I had some kind of pen that would make my phone take the picture with just one quick click. The photography part was quite fast since I already knew what to do.

After gathering all the photos the next step is adobe bridge. Import all the images and delete the ones that we do not want (I deleted some where my hand appeared or some that do not add anything to the animation) as then rename them. (Click on tools – Rename) and then all the photos are ready for After Effects.
In After Effects I created a new composition and then imported the renamed files and pressed play. At first I was just focused on changing the speed so it took a while until I got what I wanted. After it was ready I asked Adrien if it was possible to add some text. “Everything is possible” he said, so Adrien explained how could I simply add some text and the tool box to change the letter settings. I thought I was happy with the animation but no.. I decided to add audio as well. The procedure to add audio was written on the sheet and it was really easy to follow but still I had to confirm with Adrien because I was too afraid of messing my animation by pressing the wrong button. He showed me and the audio was actually the easiest part since I only had to drag the audio bar where I wanted it. And by this stage I was happy with my work so I decided to export it but in the middle of the export I knew I wanted to add more text (since it was so easy). I wanted to add some sort of subtitles, just like my figure was talking or thinking. That’s what I did!I even used one line to correct a mistake I did. During the photoshoot, in the beginning there was a cream on my animation scene so I took it out, but it looks weird on the video so I got people thinking that my figure was actually imagining it, that’s why I wrote “Hm, Still dreaming”.


I added the text I wanted, I had to arrange the “subtitle’s” colours according to the background (between black and white). And yes, by this stage I was 100% happy with my animation and I exported it!

HERE is my finished and ready stop-motion animation!


3 pensamentos em “3D – Stop-Motion Animation”
Not being an envious person, at all, finally I will have someone to teach me… After Effects! 😎