
At first Helen showed us the different kind of materials we could use on glass and their effect after being fused. We had a considerable amount of examples of fused glass pieces on our working table and some of them were passed through our hands, it was really helpful because we got to see a large range of the amazing things we could do with glass. After, a lot of safety procedures in order to protect ourselves and others from getting cut were explained. Then the practice work came in – cutting glass. It was explained to us step by step and the « do’s » and « don’t’s ». We had about 10 minutes do practice our cutting skills. I found it quite hard to break the glass after making the line to cut it so I just started using the pliers to help me hold the pieces. Every piece of glass had to be cut under the table level so that none of the glass could potentially land on our eyes or get us cut. The next stage was to make small experiences for our final glass piece and we had to choose the way we wanted Helen to cut our glass. I chose 3 square tiles.
Cuting glass material:

EXPERIENCES:
As we were told I picked images to inspire my glass fused piece and as presented on my A1 sheet I wanted to mix 2 different artists:
Vieira Da Silva: David Oliveira:

I knew I wanted to draw the skeleton with a nice thin line and use Vieira da silva’s work on some kind of background and I was lucky enough to use some of Helen’s new pens for glass. I chose the one where you don’t feel any texture when done. This is what I tried first:


Before this I even thought about making the rectangles in the background like this:

But then I remembered that Vieira da Silva doesn’t draw squares and rectangles like most people. Instead of drawing the outside line she begins painting in the middle and so on until coming up with a rectangle. So I didn’t use this method. I used the « glue » to make the squares/rectangles and covered them with powder.

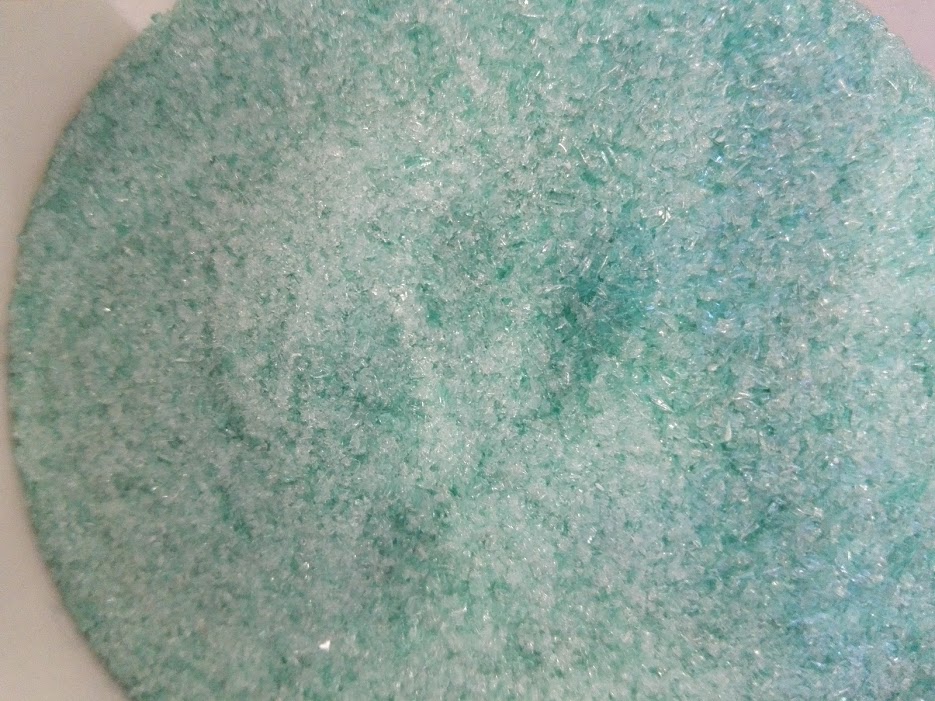
Light blue, green and pink were the used colors.
I started working on my final pieces (or pieces). I had the printed image underneath the glass so I had a perception of where the skeleton would be.


This was my final work before going to the kiln. And this is my work after the kiln!

I also did some work on my sketchbook to support my ideas

