
This semester, on my Erasmus program I will take a class called screen printing! I had never done this technique so it is a really good opportunity for me.
We have to teachers. The main one and the assistant (the assistant translates to english). In the first class we did the presentations and the teacher told us step by step how to go from the preparation of a screen to the printing of paper phase. They showed us a lot of ex-students work so we could know the possibilities we had and that helped me a lot.
The first class was really just an introduction and they told us that, for next class, we needed to take a design of ours – a black ink drawing on transparent paper because all screen printing designs are made with black and only when printing you choose the color.
First I did my research on pinterest to know a little bit more about my options and created an album – HERE, that looks like this:

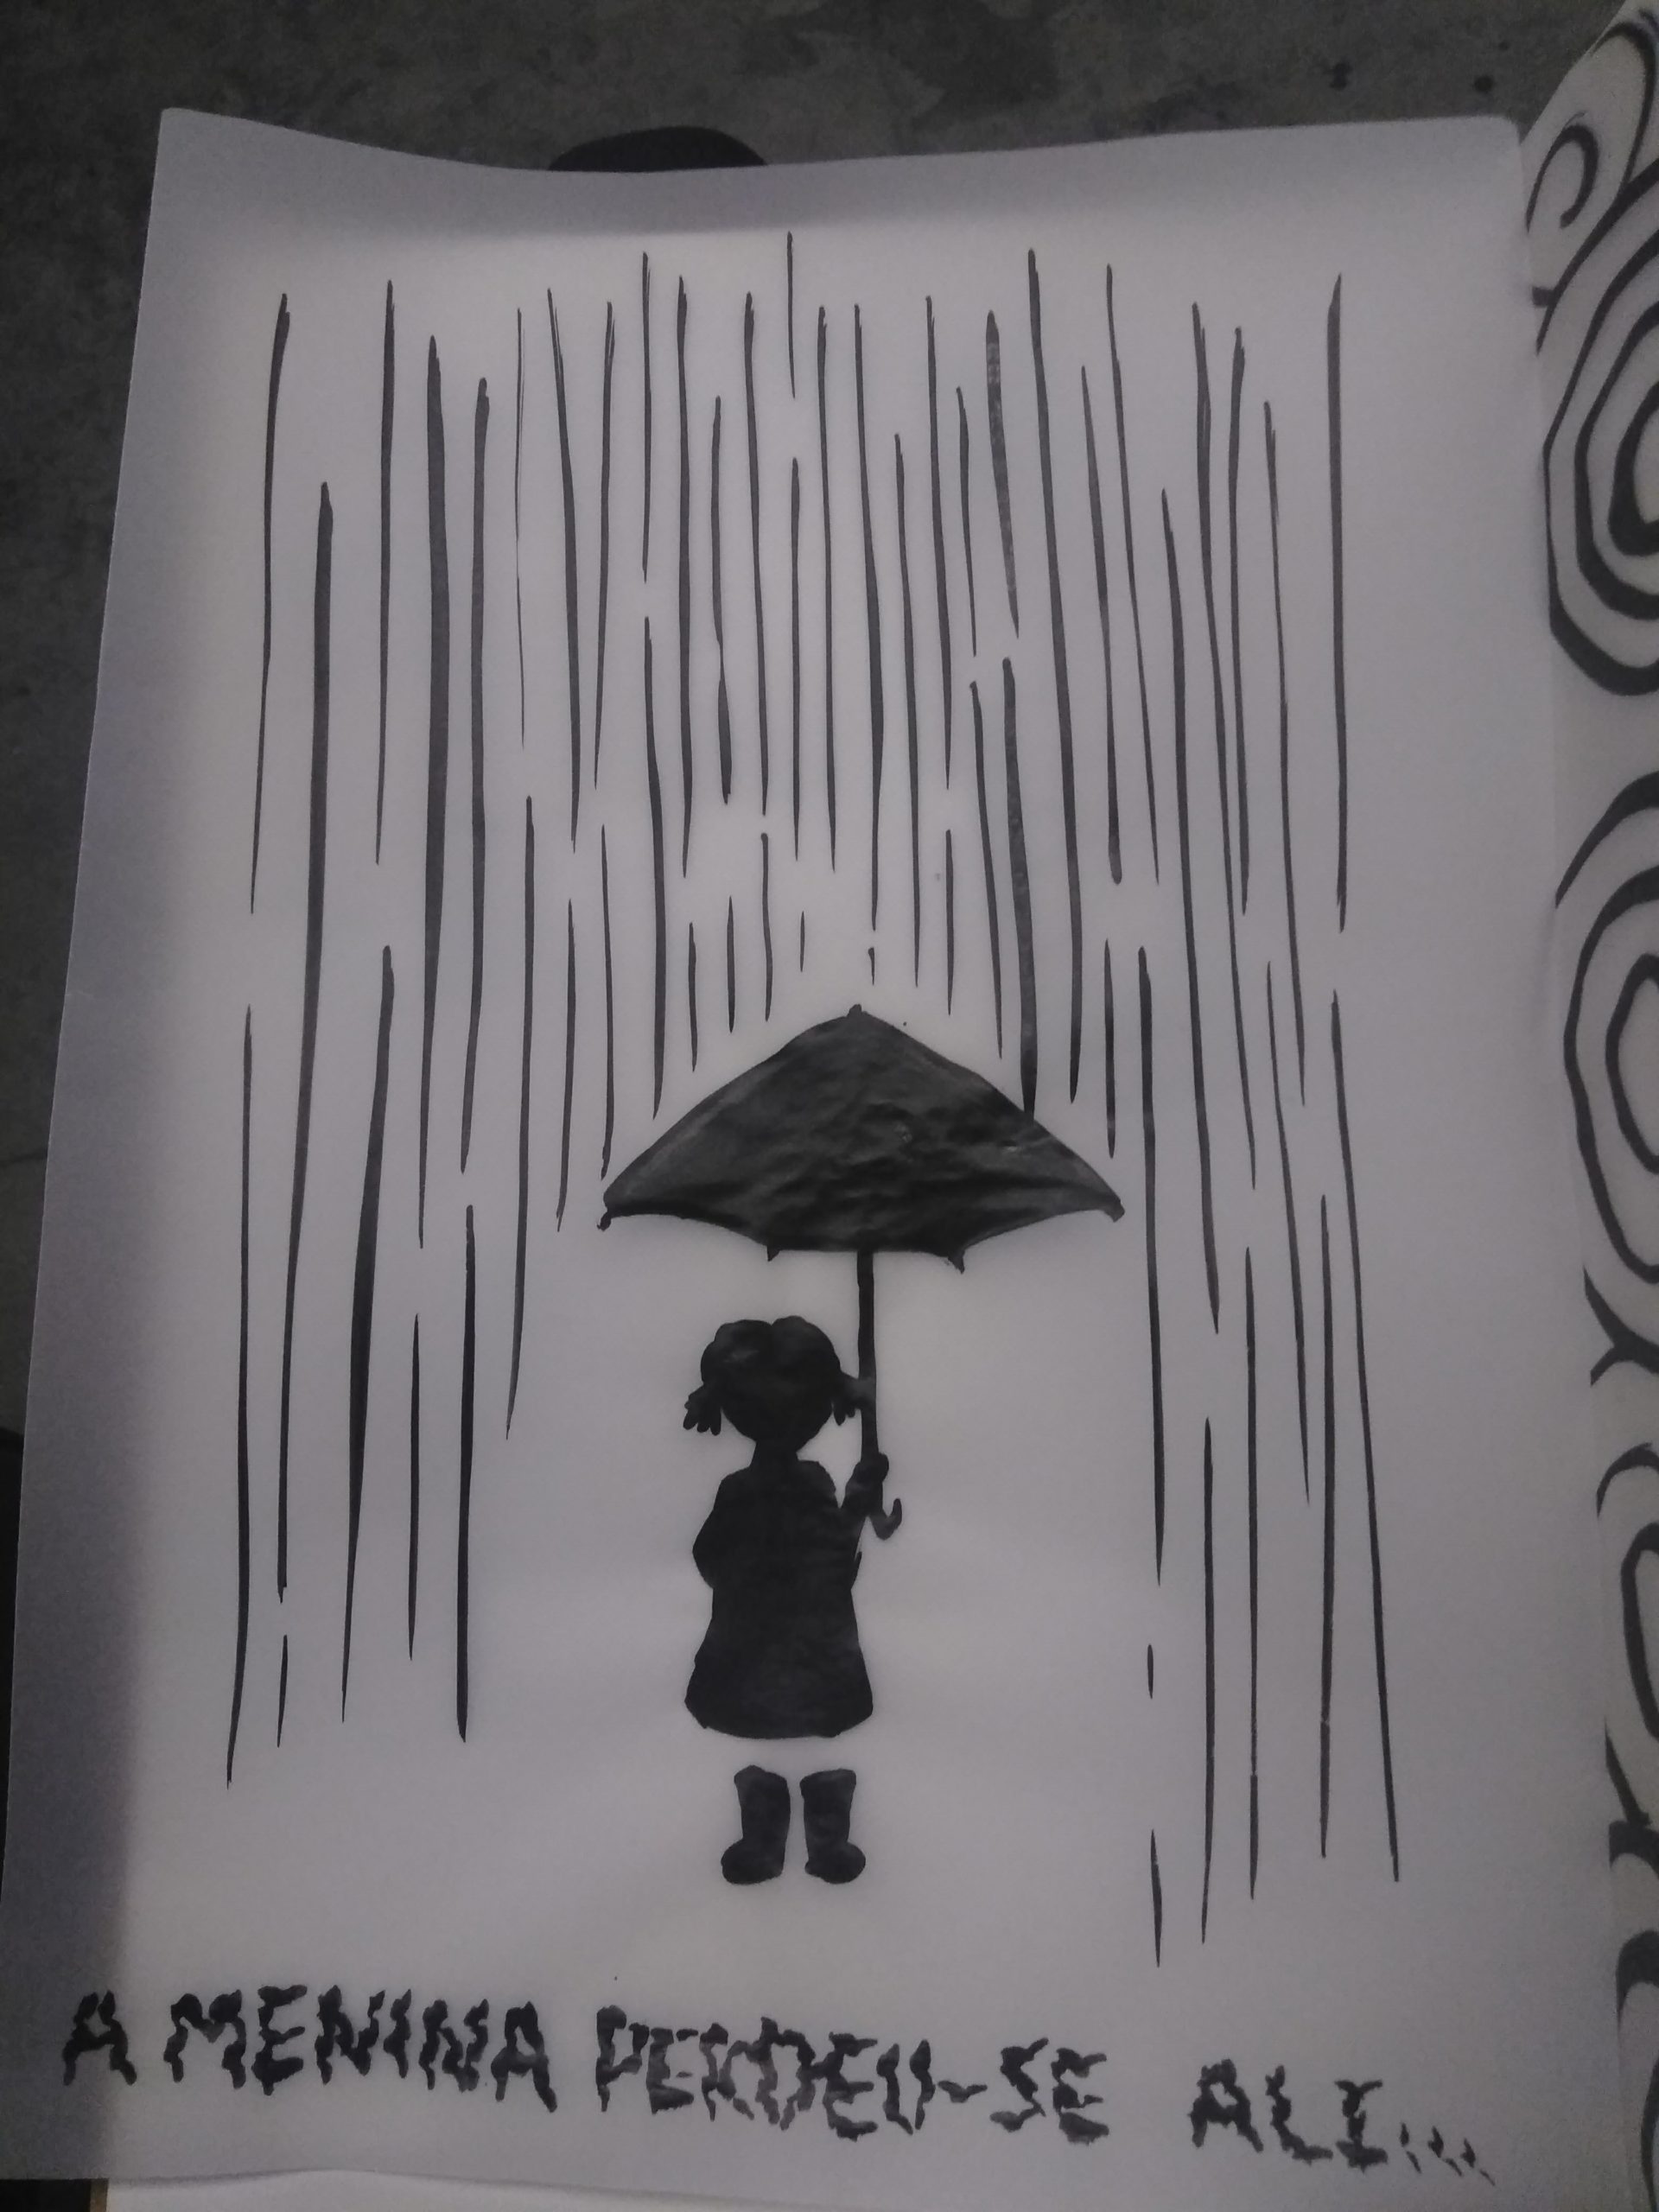
Second: After my research I made my design really fast

It is quite hard to draw on this paper and at this point I just drew with ink and brush, later on I found out I could use pens..
On our second class we repeated all the steps of screen printing and I took some pictures.. The steps are:
- Take a new screen adapted to our design size and a razor-blade with the same length as our screen.
- With the razor-blade, spread the grey liquid from bottom to top first on the front of the screen and then on the back.
- After that, we put the screen inside the big machine, in the compartments bellow, for the grey liquid to dry.

- Wait for the screens to dry, maybe 10min or so
- Once hey are they we open the top of the machine and turn off he lights
- We place the design first and then we remove the screen on top of it facing down


- After we close the top lid and the elastic membrane acts there is going to be a really strong suction to press the screen against the design. In this part the lights can be on

- The good suction time should be about 2 minutes. After that we lift the lid and take out the screen gently. We run to the water hose and wet it on both sides so it is not photosensitive anymore.
- with water we remove the grey liquid and our design comes out.
- After that we put it back on the dryer compartment and we wait! We can also apply some red ink on the screen on parts or mistakes we don’t want printed out.
After this point I still do not know for sure what happens but next class I will learn better!
About my design…
The idea came to me really fast but now I think I will try to make a story with this little girl that got lost with her umbrella. Like a small cartoon but told with prints!
I’ve always love the Japanese buildings and detailed illustrations so I think those will be my references!
For next class we have to present a design to print with 3 different colors. At the end of last class they showed us we can overlap designs and how the colors mix when overlapped. This opens a lot of options! we can also cut paper use it as a design!
I am really excited about this class!
Stay tuned to see my future designs!