
Hey hey!
This is the continuation of last post’s explanation about how screen printing works.
- After we wash out the grey liquid from the screen our design appears and this is how it looks:

- It becomes transparent where there as ink pressed against.
- After this, like I said before, we put the screen to dry.
- Once it is dry we can take it off the dryer and prepare for printing.
- We need, lots of cut paper to print, ink, our original design, razor blade to spread the in and arm strength to do it!
- First we have to decide where in the paper we want your design to be printed (middle, bottom, left, right). We tape our design where we want it to be on the sheet and we put it under the screen.

- It might not be visible but my original design is bellow the screen.
- After that we mark where the sheet is with tape so that every print will be in the exact same place.


- We place the paper on these marks. The little dots that you see are air suction wholes so that when we print something, the paper doesn’t stick to the screen. (sorry for the blurry picture)
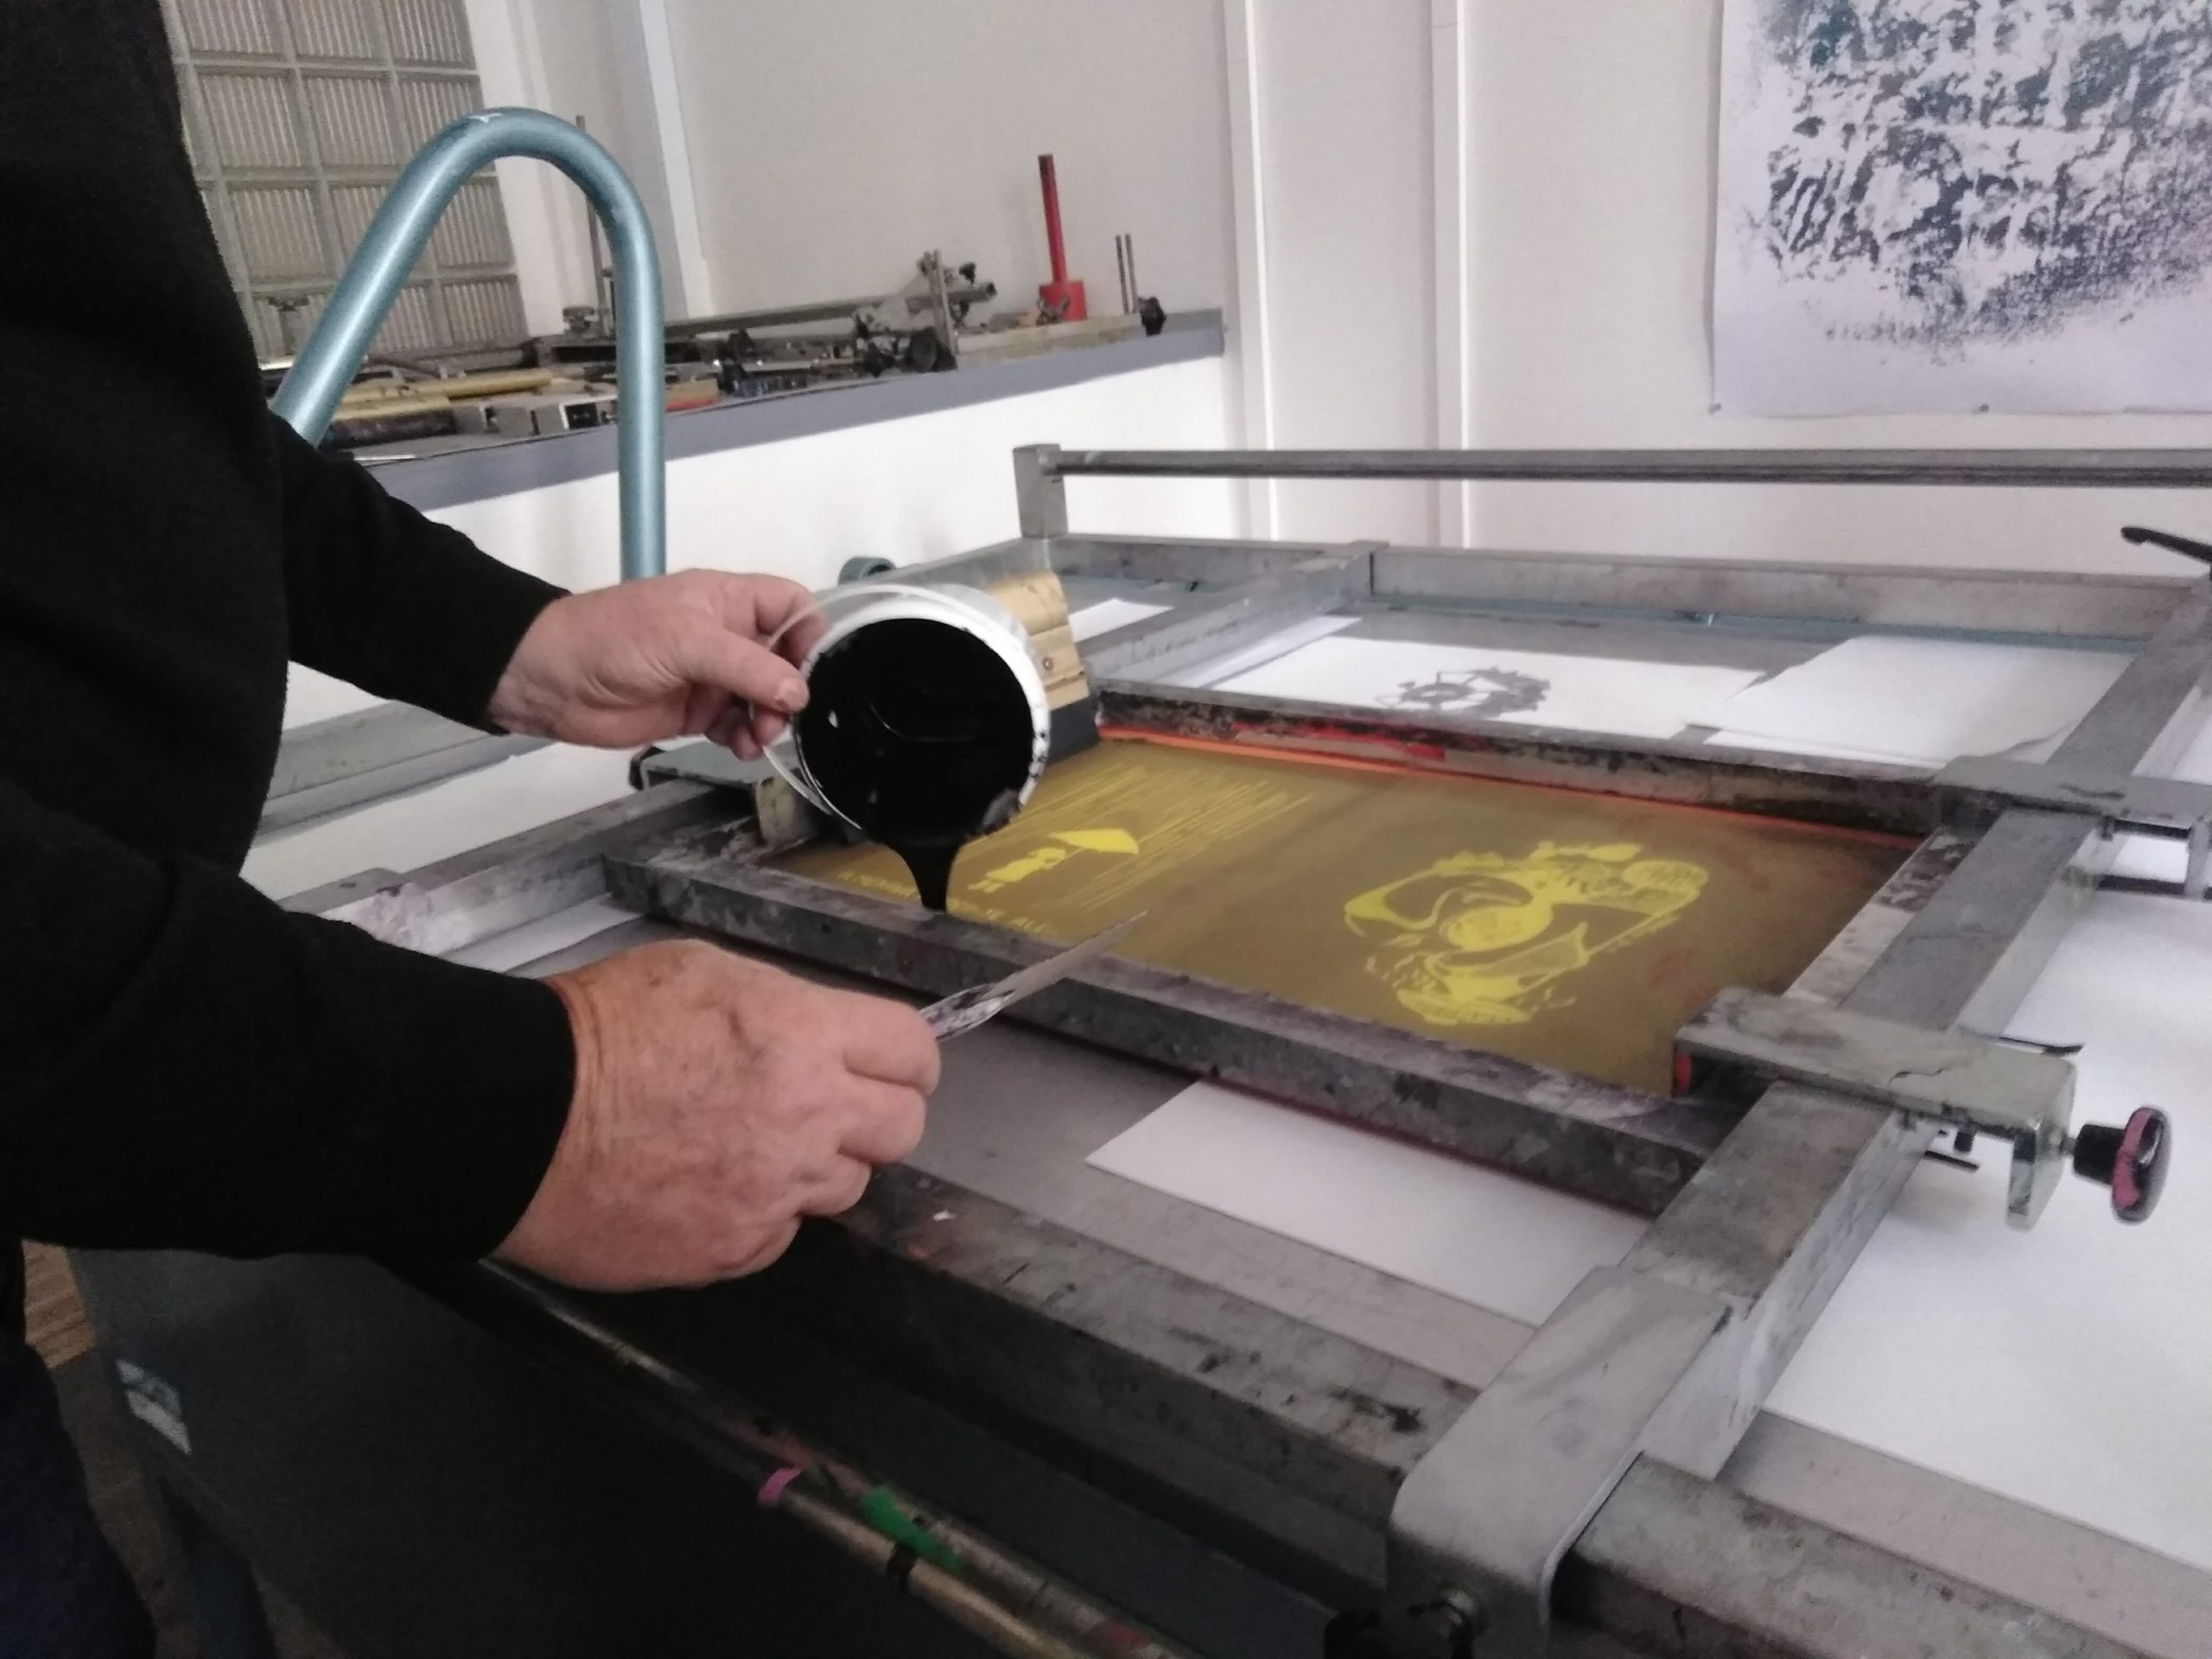
- We place the screen on top and put ink.

- with re razor blade adjusted to our screen size we spread the ink hard from the top to the bottom of the design, which looks like this:


I had to push it really really hard and could only do it correctly on my 4th attempt… This is how they turned out:
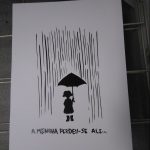
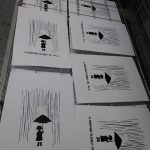
As you can see I made a loooot of prints so feel free to ask me for more!
In this class I understood something. We are doing seripgraphy and not just normal screen printing. The difference is only according to the rules. Serigraph rules are (from what I understood):
- Always print on paper, never less than 10 prints and never more than 200 with one design
- Design has to be hand-made on transparent paper
- Every step of the screenprinting is done with our hands, it is very tradicional.
I also asked the teacher if we could print t-shirts and bags and she said we could maybe do it one class in the semester but that the main goal was exploring techniques of serigraphy and printing on fabric is not one of them.
Oh and the screen printing process is not over!
- After doing each print we always stretch the ink back to the top of our design. However, after the last print we do not stretch it back.
- We put the remaining ink with a peace of plastic or cardboard back into it’s can.
- With a peace of paper we try to remove as much as posible ink.
- After that, with a peace of fabric we spread a chemical liquid through the screen. We then take the screen to the hose place and wash it with water! The grey liquid should be gone completely!
This was my second class of screen printing and all these things take a while. I could not bring my design home because they take 1 day to dry.
Next class, as I mentioned in the last post, we are doing 3 colors designs. I can’t wait!
Stay tuned 🙂